Hello gorgeous people! 😀 I’ve been feeling like using glitter lately, so here’s an other look, using smashing sparkles! 😉 This is a tropical inspired look, that I’ve entered into Makeupbee’s competition, where you can win Inglot products! 😀 I’ve been dying to try out Inglot eyeshadows, but they don’t ship to Norway. 😦 So I’m really excited about this competition and I hope you can vote for my look on Makeupbee, by clicking the love button, HERE! 😀 I would really appreciate it! Thank you! ❤

Products used:
- Lime Crime – Candy eyed eyeshadow helper
- NYX – Jumbo pencil in Milk

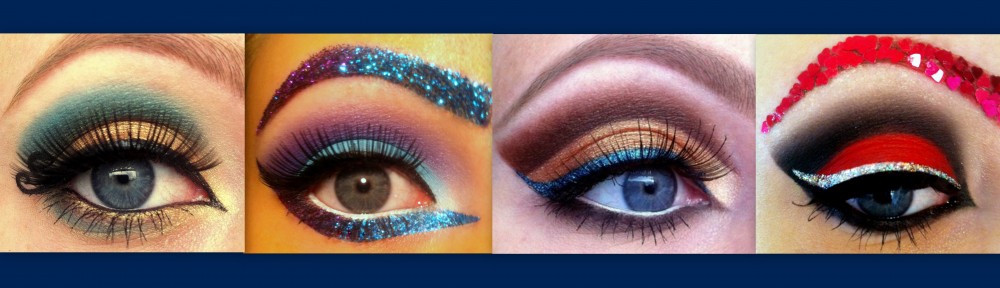
- Sugarpill – Pressed eyeshadow in Tako
- Sugarpill – Pressed eyeshadow in Mochi
- Sugarpill – Pressed eyeshadow in Acidberry
- Sugarpill – Loose eyeshadow in Darling
- Sugarpill – Flase lashes in Sinnocent
- NYX – Glitter cream in Lime
- TheNailDazzle – Acrylic in Lime Green
- L’Oreal – Super Liner in Carbon Gloss
- Maybelline – One by one mascara
- Too Faced – Brow envy kit

How to:
- Apply a primer where you’re going to place the eyeshadow. Then apply NYX Milk on top of that.
- Start cutting your crease with a light turquoise color (Mochi), right above where your natural crease is. Blend this color up, into the outer v area and down to the outer 2/3 of your lower lid. Place this eyeshadow on the inner 2/3 of your lower lid as well.
- On your lid and in the middle on your lower lid, place a lime green shadow, (Acidberry). Blend the colors together.
- Apply a loose turquoise that’s a bit darker than Mochi, (Darling), and place it along the cut crease. Blend it slightley up.
- Apply a glitter base to your lid and apply a lime green glitter on top of that. Use a small, precise concealer brush when doing this, and take your time.
- Line your lower water line with NYX Milk and set it with a matte white shadow (Tako), so that it lasts longer. Apply Tako as a highlight to the inner corner of your eye and to the brow bone.
- Line your upper lash line with a black liquid liner and wing the line out.
- Apply mascara to your lower lashes.
- Apply some gorgeous false lashes and you’re done! 😀

I hope you liked the look! ❤ Have a great day! ^-^
GlitterGirlC 🙂


